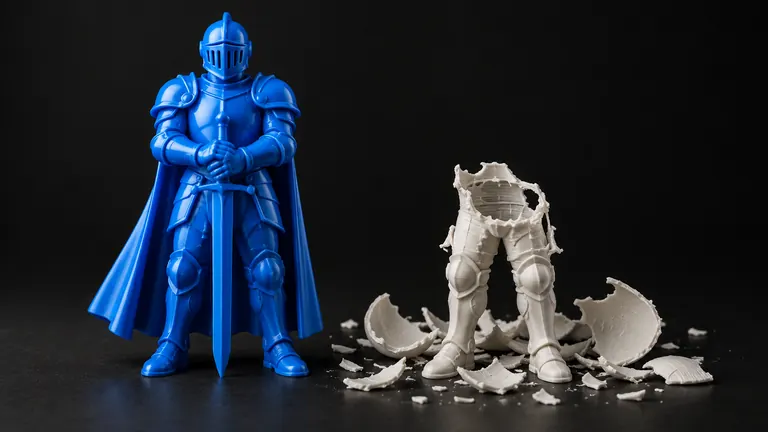
Wall thickness is the quietest way a print fails. The slicer rarely warns you; the preview looks fine; the part comes out with walls you can crush between two fingers, or with gaps where geometry simply vanished.
Short version: for a standard 0.4 mm nozzle, treat 0.8 mm as the absolute floor and 1.2 mm as the working minimum for anything you'll touch. Structural parts want 1.6–2.4 mm or more. The floor scales with the nozzle: industry design guides put the FDM minimum at 0.8 mm for both supported and free-standing walls (Hubs design rules).
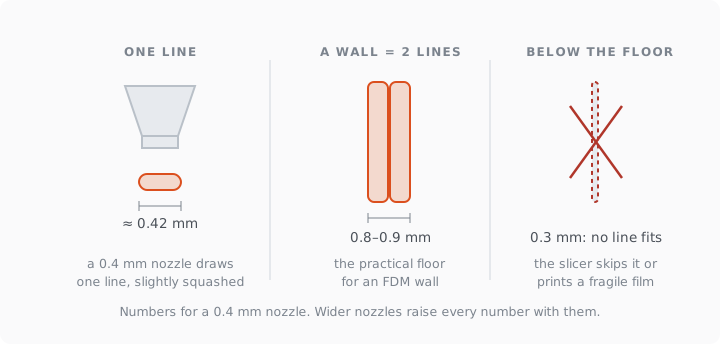
Where does 0.8 mm come from?
An FDM wall is built from extruded lines. A 0.4 mm nozzle draws a line about 0.42–0.45 mm wide, and a sound wall needs at least two of them fused back to back: one line per side, no gap between. Two lines at ~0.42 mm is 0.84 mm. Below that the slicer has three bad options: draw a single line (fragile, watertight in no sense of the word), leave a gap between the perimeters, or skip the region entirely. All three happen in practice, and which one you get depends on slicer settings you probably never touched.
The table
Numbers for a 0.4 mm nozzle, the default on Bambu P1S, A1, X1C and nearly everything else. For other nozzles, scale proportionally.
| Wall | Thickness | What it survives |
|---|---|---|
| 1 perimeter | 0.42–0.45 mm | Nothing. Decorative surfaces that are never touched |
| 2 perimeters | 0.8–0.9 mm | The practical floor: ornaments, covers, light enclosures |
| 3 perimeters | 1.2–1.35 mm | Handled parts: knobs, clips, boxes |
| 4 perimeters | 1.6–1.8 mm | Functional parts under load: brackets, mounts, hooks |
| 6 perimeters | 2.4–2.7 mm | Load-bearing repairs, shelf supports, anything you'd regret breaking |
Two notes on reading it. First, thickness beats infill for strength per gram: four perimeters at 25% infill outperform two perimeters at 60% for most loads. Second, these are per-wall numbers; a tube has two walls, so its printable outer diameter floor is thicker than intuition says.
Why AI-generated models are the worst offenders
Generators learn from rendered images, and a render doesn't care about thickness: a cape, a fin, an ear can be a mathematically perfect surface with zero volume. The model looks solid and slices to nothing. It's error number two in our catalog of why AI models fail to print →, and it's the dangerous one, because nothing warns you. Bambu Studio's "empty layer" message is the closest thing to an alarm, and it only fires when an entire layer comes out blank.
PHORM checks wall thickness as part of the printability verdict on every generation: a model with sub-floor walls doesn't pass, and a pass means every wall in the file is printable on a stock 0.4 mm nozzle. That check runs on every free generation too →
How to find thin walls before printing
Slice preview, always. Scroll top to bottom in line view. Missing walls, single-line perimeters and gaps are plainly visible. Thirty seconds, saves an hour.
Blender's 3D Print Toolbox has a dedicated thickness check with a configurable threshold. Set it to 0.8 mm and it highlights every failing face.
Scale is part of the answer. A model that fails at 30 mm tall may pass at 60 mm: scaling up thickens every wall with it. If your part is a scan or a generated model, fixing size and thickness is often one operation; how to set exact dimensions is covered in the scaling guide →.
Fix the geometry when you must keep the size. Blender's Solidify modifier adds volume to thin regions; budget for a repair pass afterward, because Solidify on complex meshes routinely creates self-intersections.