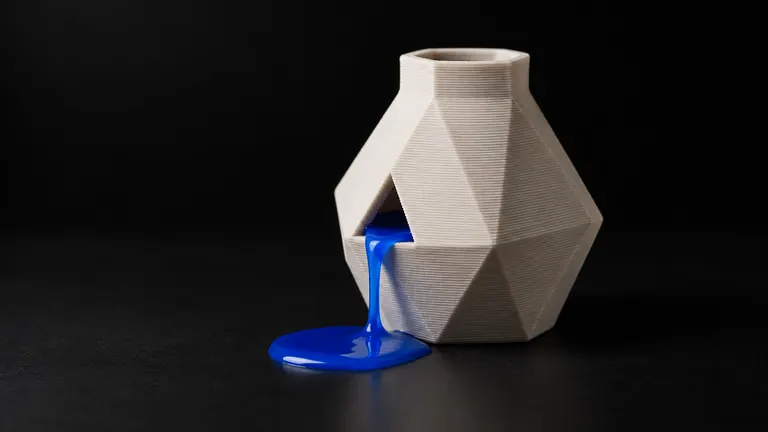
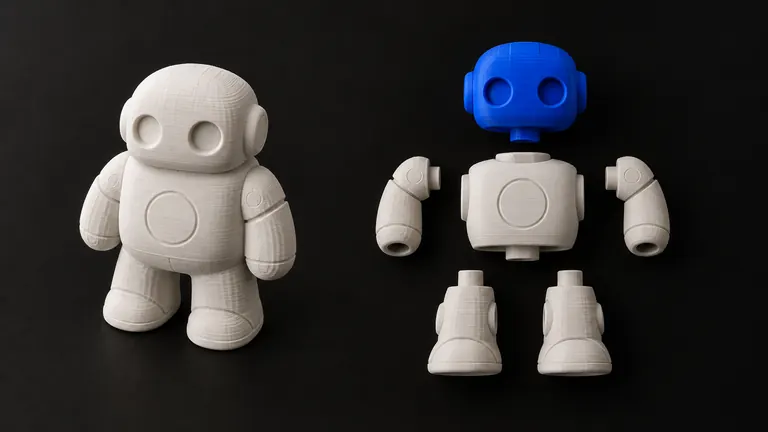
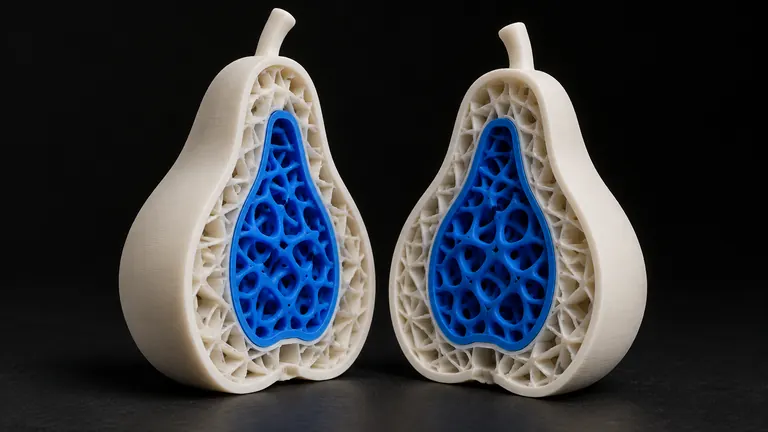
You generated a model. The preview looked incredible — clean surfaces, sharp details, exactly what you asked for. Then you dropped it into Bambu Studio, Orca, or Cura, and the slicer lit up: non-manifold edges, open meshes, degenerate faces. Or worse — it sliced "fine" and printed a hollow shell that crumbled in your hand.
Short version: six specific mesh errors cause almost every failure, each has a known fix, and the whole repair pass costs 20–60 minutes per model by hand. This isn't bad luck, and it isn't your printer — it's how image-to-3D generators work. Every generator on the market optimizes for how a model looks, not whether it can exist as a physical object. Below is what each error looks like in the slicer, the manual fix for every one, and at the end, the honest version of "or skip all of this."
Why generators produce broken meshes in the first place
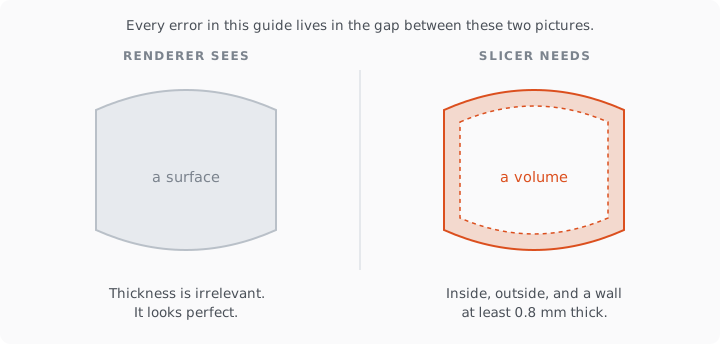
AI 3D generators reconstruct a surface from learned visual features. The output is a triangle soup wrapped around a shape — and the algorithm's only scoring function is visual similarity. Nothing in that pipeline asks the questions a printer asks:
- Is this surface closed, so a slicer can tell inside from outside?
- Does every wall have thickness, or is it a zero-width film?
- Do the triangles connect into one consistent solid, or do shells intersect and overlap?
A render doesn't care. An extruder does. That mismatch produces six specific, recognizable errors — and once you can name them, every cryptic slicer warning becomes fixable.
We measured this across five generators on the same four photos: 9 of 20 raw meshes failed, each in its own way →.
Error 1: Non-manifold edges
What the slicer says: "Non-manifold edges detected" — Bambu Studio shows a count, and it can be anything from 6 to five figures. (One of the most-read threads on the Bambu forum is titled, simply, "Error: 776 non-manifold edges".)
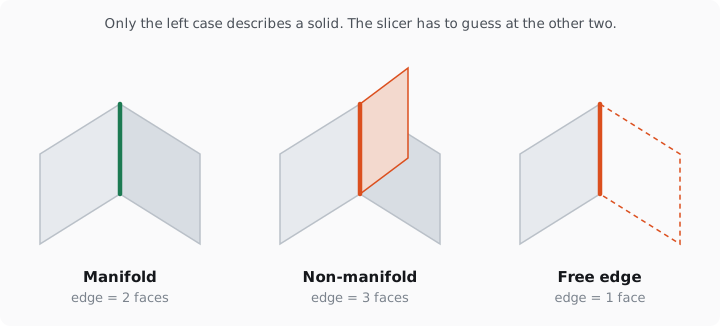
What it means: an edge is shared by more than two triangles, or by only one — geometry that can't exist as a physical surface. The slicer can't decide where "inside" is, so walls and infill are computed from a guess.
Why AI models have it: surface reconstruction stitches patches together; where patches meet, edges double up or hang loose.
Manual fix: Bambu Studio's right-click → Fix model handles mild cases — but note that Bambu's own documentation states the feature is Windows-only, since it calls Microsoft's repair backend. For stubborn cases: Blender → 3D-Print Toolbox add-on → Make Manifold. Check the result — aggressive auto-repair can discard geometry it cannot classify. We wrote a dedicated deep-dive on this exact error, including what to do when the repair itself makes things worse: Bambu Studio non-manifold edges, fixed 6 ways →
Time cost by hand: 5–30 minutes per model, depending on how deep the damage goes.
Error 2: Zero-thickness walls
What the slicer says: often nothing at all — this is the dangerous one. The preview looks solid; the sliced result has missing walls, single-line perimeters, or whole regions with no extrusion.
What it means: the generator produced a mathematically perfect surface with no volume. A cape, a fin, a panel — one triangle thick. Real-world thickness: zero millimeters. Your nozzle physically cannot extrude a 0 mm wall.
Why AI models have it: generators trained on rendered imagery learn that thin flat things exist; they don't learn that plastic has a minimum width.
Manual fix: Blender → Solidify modifier, thickness 1.2–2 mm for FDM (why those numbers →). The catch: Solidify applied to a complex organic mesh routinely creates new self-intersections, which sends you back to Error 1. Budget for two passes.
Error 3: Holes and open meshes
What the slicer says: "Open edges," "model is not watertight," or it silently "closes" the hole with a flat cap that ruins the shape.
What it means: the surface has gaps — usually where the photo didn't show the geometry (undersides, occluded areas), so the AI never reconstructed it.
Manual fix: small holes — slicer auto-repair or Meshmixer's Inspector. Large missing regions — there's no automated tool that invents geometry it can't see; you're sculpting in Blender or regenerating from a better photo. (For the photo technique that avoids this in the first place, see our photo-to-print workflow guide →.)
Error 4: Inverted normals
What the slicer says: "Inverted faces," or the model renders inside-out in preview with dark patches.
What it means: some triangles claim their outer side faces into the object. The slicer computes walls in the wrong direction for those regions — you get gaps, doubled walls, or spontaneous internal structure.
Manual fix: Blender → select all → Recalculate Normals Outside (Shift+N). Works nine times out of ten; the tenth time, the mesh has such tangled topology that recalculation flips the wrong patches, and you're picking faces by hand.
Error 5: Self-intersections and shells inside shells
What the slicer says: usually nothing explicit. Symptoms: infill appearing where there should be solid material, walls printing twice, random internal chambers.
What it means: the generator produced multiple overlapping surfaces — a shirt intersecting a torso, a handle passing through a body. Slicers resolve overlaps by even/odd rules, and the result is structurally unpredictable.
Manual fix: boolean union of all shells (Blender → Exact solver, if it doesn't choke), or remesh the whole object (voxel remesh destroys sharp detail — you're trading accuracy for printability).
Error 6: Scale and unit chaos
What the slicer says: "Object is too small/too large," or nothing — and you print a 4 mm chess piece.
What it means: STL files carry no units. The generator exported in arbitrary "scene units"; your slicer guessed millimeters.
Manual fix: always check one known dimension before slicing (the full scaling ritual →). If you're reproducing a real object from a photo, measure the original with calipers and scale to match. This single habit prevents more wasted filament than any mesh repair.
The repair stack, honestly compared
Current status of every tool below, verified against 2026 reality, lives in the repair tools comparison →.
| Tool | Fixes | Cost | Reality check |
|---|---|---|---|
| Bambu Studio "Fix model" | 1, mild 3 | free | Windows only; can discard geometry on complex meshes |
| Windows 3D Builder | 1, 3, 4 | free | Surprisingly effective; discontinued, still downloadable |
| Blender + 3D-Print Toolbox | all six | free | The full surgery suite — with a learning curve measured in weekends |
| Meshmixer | 1, 3, 5 | free | Abandoned by Autodesk, still the best Inspector tool |
| Online repair services | 1, 3, 4 | freemium | File limits; your model uploads to someone's server |
A realistic repair session for a typical AI-generated model touches three of the six errors and costs 20–60 minutes. That's the actual price of "free" generation — you pay in evenings.
The automatic route
This is the part where we tell you what we built, and we'll keep it short. PHORM generates the model from your photo and runs the entire stack above — repair, wall thickness, manifold check — automatically, then gives a printability verdict before you download. Pass: you get a 3MF with a print profile for your Bambu X1C, X1E, P1S, P1P, P2S, A1, A1 mini, H2D or H2S. Fail: the model doesn't count and you retry free. That last part matters — it means we only get paid for models that print, which is the correct incentive for everyone involved.
2 free models to start, no card →
And if you'd rather keep your current generator and just fix its output: our repair pipeline works on that too — see what it does to a broken STL →.