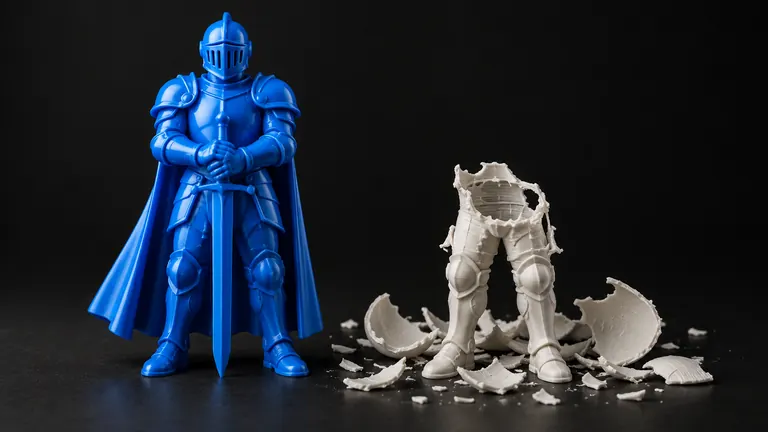
"Just hollow it" is advice that saves one person half a spool and costs another a failed print with resin sloshing inside. Whether hollowing helps depends entirely on which technology you print with, and most guides skip that fork.
Short version: on FDM you almost never hollow the mesh — infill already does it better. Hollowing is a resin-printing technique, and there it comes with two hard rules: walls of 2 mm or more, and drain holes, always.
Why FDM printers don't need hollow meshes
An FDM slicer doesn't print your model solid in the first place. It builds closed walls and fills the interior with sparse infill at whatever density you choose; 10–15% is a common default. That's hollowing with benefits: the infill lattice supports the top surfaces from inside, adds stiffness, and costs you a settings change instead of a mesh edit.
Hollowing the mesh itself before FDM printing usually makes things worse. An empty cavity gives top surfaces nothing to rest on, so they sag or need internal supports you can't remove. A hollowed mesh is also a more fragile mesh: you've doubled the surface area and introduced an inner shell that repair tools and slicers must now reason about. If your goal is saving material on FDM, lower the infill percentage and stop there; if your goal is a lighter part, lower infill and add two perimeters, which beats hollowing on both weight and strength. The wall math is in minimum wall thickness →.
The exceptions where FDM hollowing is legitimate: vase-mode style objects designed as shells, parts that must float or hold something inside, and giant props where even 5% infill is kilograms of plastic.
Resin is the opposite story
A solid resin print is expensive three times over: resin cost, peel forces that grow with cross-section area and can tear the print off supports, and uncured resin's weight. So hollowing is standard practice for resin, with two rules that aren't optional.
Wall thickness: 2 mm is the safe default. Thinner shells (1.2–1.5 mm) work for small models with gentle geometry; below that you get flex during peeling and blowouts at the first thin spot.
Drain holes, plural, or the print becomes a sealed tank. Uncured resin trapped in the cavity adds weight, leaks later through any micro-gap, and can crack the shell outright as pressure changes; a sealed cavity also fights the peel with suction on every layer. Two holes minimum (one high, one low relative to print orientation, so liquid exits while air enters), 2–4 mm diameter for desktop prints, placed where they're easy to plug or hide.
The tools
Blender: Solidify modifier with a negative offset on a watertight mesh, or the manual route (duplicate, shrink, flip normals, bridge); powerful and fiddly. Meshmixer: the classic Hollow tool with clickable drain-hole placement, still the most pleasant UI for this job despite the tool's abandonware status; see its current state in the repair tools roundup →. Most resin slicers (Lychee, Chitubox) hollow and add drains natively, which for resin work is the practical answer.
One prerequisite everywhere: hollowing only works on a watertight mesh. The algorithm computes an inside offset, and "inside" must be defined; on a leaky mesh you'll get garbage or a refusal. Check first — what watertight means and how to verify it →. Generated models add their own trap: many arrive as thin shells already, with no solid volume to hollow; the full list of what's structurally wrong with them is in why AI models fail to print →.
If a model refuses to hollow because of mesh damage, fix the mesh first. PHORM's repair returns a watertight solid with a report →, and hollow-friendly output is exactly what "watertight, manifold, one shell" means in that report.
Hollowing and mesh sanity
Every hollow operation doubles your trouble surface: an inner shell can self-intersect where the outer one has tight curvature, and drain holes punched by tools are new boundary edges that must merge cleanly. After hollowing, run the same checks you'd run after a repair: error counters at import, then the slice or resin-slicer preview. The mechanism behind those checks is covered in what automatic repair actually does →.