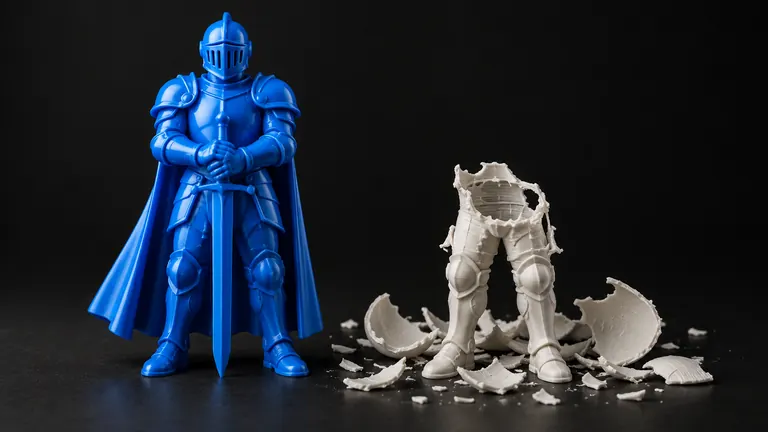
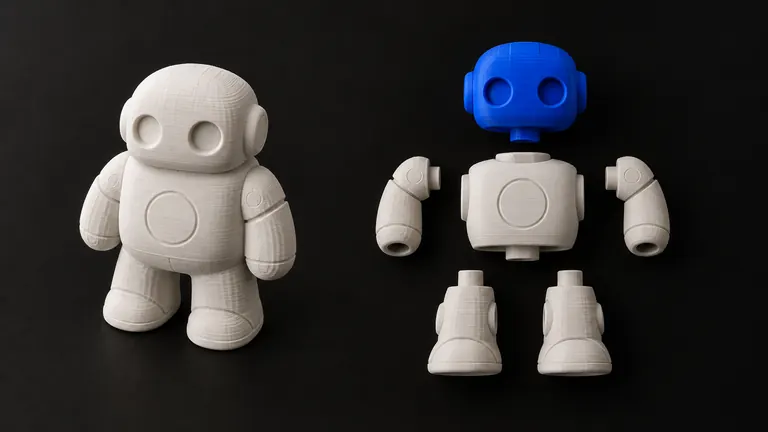
Auto-repair feels like magic: 1,328 errors in, zero errors out, one click. It's worth understanding what actually happened in between, because the same mechanism that fixes your model is the one that occasionally eats it.
Short version: repair algorithms fix a mesh by making executive decisions about ambiguous geometry — stitching, capping, or deleting it. On lightly damaged models the decisions are safe. On heavily damaged ones, "zero errors" can mean "the ambiguous half of your model is gone".
What repair does, in order
A typical repair pass runs a pipeline, cheapest surgery first:
- Deduplicate. Remove identical triangles and merge vertices that sit within a tolerance of each other. Free wins; nothing visible changes.
- Delete degenerates. Zero-area triangles contribute nothing and break math downstream; out they go.
- Stitch. Edges that almost touch get welded. This closes the hairline cracks that surface reconstruction leaves between patches.
- Fill holes. Open boundaries get capped with new triangles. Small round holes cap cleanly; large irregular openings get a flat lid that may look nothing like the missing surface.
- Fix orientation. Normals get recalculated so every face agrees on which side is outside.
- Resolve the unclassifiable. Whatever still can't be assigned a clean inside and outside — intersecting shells, walls inside walls, floating fragments — gets discarded or rebuilt. This is where models lose geometry.
Heavier tools add a nuclear option: full reconstruction, where the algorithm rebuilds a brand-new watertight surface around your mesh (projection or voxel-based) instead of patching the old one. Everything is guaranteed closed afterward, and two side effects follow: triangle count explodes, and dimensions can drift by a fraction of a millimeter as the new surface wraps the old one. On a decorative model neither matters. On a part with tolerances, the drift is worth checking; see what those fractions do to fits →.
Why "repaired" can mean "smaller"
Step 6 is the honest confession of every repair engine. An algorithm cannot know that this intersecting surface is a deliberately overlapped handle and that one is reconstruction garbage. It resolves ambiguity by rules, and the rules err toward deletion, because a missing wall at least produces a manifold result. The more ambiguous the mesh, the more gets deleted: fix a lightly broken model and lose nothing; fix a disaster and lose two walls, with a green checkmark on top.
This is not a reason to avoid auto-repair. It's a reason to verify after it.
The 30-second safety ritual
After any automatic fix: reslice, scroll the preview top to bottom watching perimeters, and compare the object's volume or bounding box before and after if your tools show it. A big volume drop means the repair ate something. If it did, try a different engine (they disagree exactly where the ambiguity is), or open the mesh in Blender and fix the specific region by hand. The tool-by-tool options are in the free repair tools comparison →.
What repair can never do
Three walls it will always hit. It can't invent unseen geometry: a scan with no underside gets a cap, not an underside. It can't add thickness: a zero-width surface isn't damaged, it's incomplete, and closing it produces a zero-volume solid; something must extrude it into a wall first — the numbers a wall needs are in minimum wall thickness →. And it can't read intent: it doesn't know your mug's handle hole is sacred. Good pipelines encode that last rule explicitly, preserving designed through-holes while closing everything else; the definition of "closed" they aim for is in what watertight means →.
How PHORM does it, for the curious
Our pipeline runs the same staged surgery with two additions. Every repair produces a report: warnings before and after, what was stitched, closed and removed, dimensions before and after, shells and through-holes counted, so step 6 is never silent. And full reconstruction is a labeled last resort rather than a default, because it trades sharpness for certainty. Every generated model goes through this before download, and outside files can take the same trip →. If the model came from a generator in the first place, the underlying disease is catalogued in why AI models fail to print →.