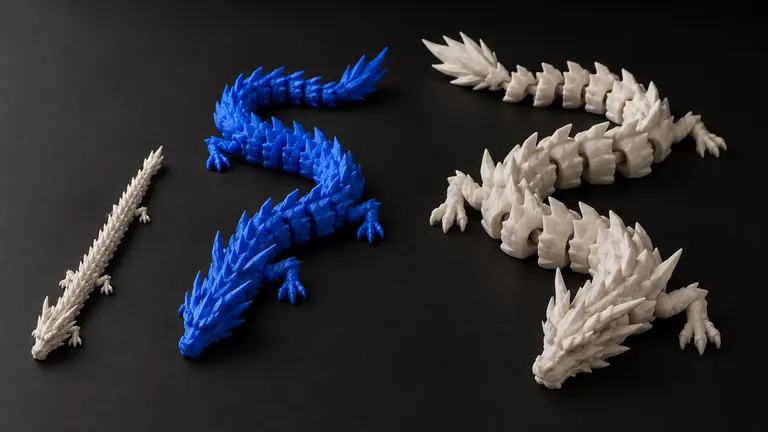
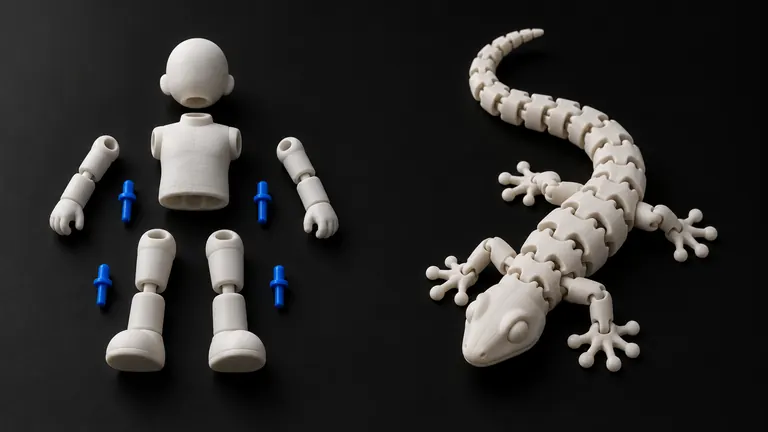
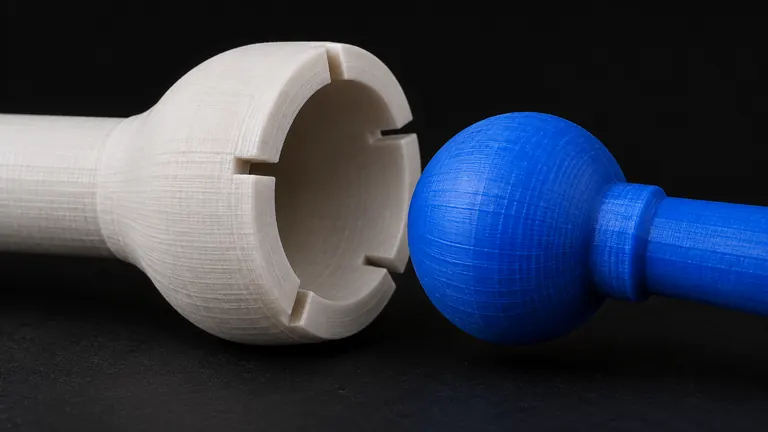
The sword is 310 mm long and the plate is 256. The dragon needs a red body and gold wings. The figure would look better if the head turned. All three end the same way: you drag a cut plane through the model in the slicer, print two pieces, glue or pin them, and the seam looks like a crack no matter how well the halves fit.
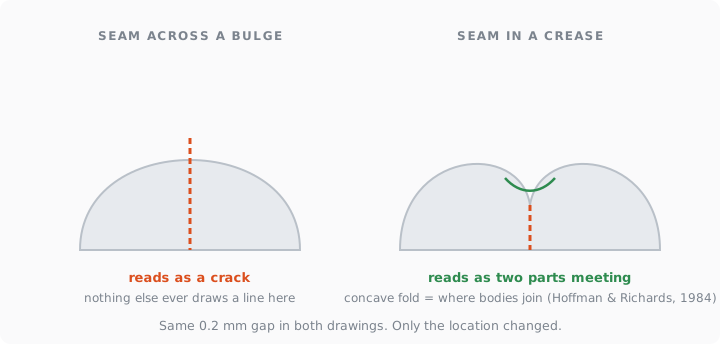
Short version: cut in a concave crease, where the surface folds inward, and the seam reads as two parts meeting. Cut across a convex surface and the same gap reads as damage. If there is no crease, use the neck, then the parting line, and if there is nothing at all, make your own crease with a V-groove.
First, do you need to cut at all
Assembly engineers have a standard test for whether a part deserves to exist, from Boothroyd and Dewhurst's design-for-assembly method: does it move relative to its neighbors, does it need to be a different material, and would the product be impossible to assemble otherwise (Boothroyd Dewhurst part-consolidation criteria). For printing, the third question becomes "is it needed for the print": too big for the plate, needs a different orientation for strength, or sheds supports when split.
If none of the three applies, don't cut. Every seam costs a fit, a glue line and a chance for a visible step, and the temptation to split "for easier printing" usually trades one support scar for two seams.
Rule 1: the seam goes in a concave crease
This comes from vision science, not from workshop lore. In 1984 Hoffman and Richards showed that human vision divides shapes into parts along lines of negative minimum curvature, the places where the surface folds inward: the neck below a head, the fold where an arm meets the torso, the groove around a lid (Parts of recognition, Cognition 1984). The reason is geometric. When two bodies interpenetrate, they almost always meet in a concave crease; the crease is the eye's evidence that two things are joined. The rule is built in, works the same for everyone, and doesn't need explaining to the person who picks up your print.
So the seam has two jobs and one answer. Put it in the crease and it is both natural (the eye expects a join there) and invisible (the gap sits in shadow at the bottom of the fold). Put it across a bulge and the eye reports a crack, because nothing else ever produces a line there.
Rule 2: the shortest cut through the axis
Given several creases, which one? Singh, Seyranian and Hoffman measured how people choose and found a short-cut rule: a valid cut passes through at least one concave crease, stays inside the shape, crosses the local axis of symmetry, and among valid cuts people prefer the shortest (Parsing silhouettes: the short-cut rule, 1999). One subtlety matters in practice: only one end of the cut has to sit in a crease. The other end may land on a flat or gently convex area and the seam still reads correctly. Demanding crease-to-crease on both sides throws away good cuts.
Rule 3: find the neck
Slice the shape into thin cross-sections along its axis and plot the area of each. The minimum is the neck: the bottle's throat, a wrist, a waist. A neck is the canonical place to separate a part, and on a bottle it is the only one. Generated meshes are lumpy, so ignore small local dips; a real neck stays a minimum even when you smooth the profile heavily, and noise disappears first.
A shape can have a legitimate seam with no neck at all. A wheel flush with a car body has no narrowing, but it has two creases whose tangents continue each other across the joint. That pair is the cut. Mugs are the other special case: a handle is a loop, so it never comes off with one cut. It needs two, at the two creases where it meets the body.
Rule 4: no crease? Use the parting line
Smooth convex objects, an egg or a minimalist vase, have no creases and no necks. Here the legitimate seam is the one every injection-molded object already carries: the parting line, the silhouette seen along the direction the mold opens. Eyes are so used to it that a front-half/back-half split along the plane of symmetry reads as "made this way" even though it crosses convex surfaces. Heads on assembled model kits split exactly there.
Rule 5: nothing? Make a crease
For a forced cut across a bulge, a sword too long for the plate, a staff, a column, the trick is to build the crease you don't have. Chamfer both edges of the cut at 45°, 0.3 to 0.5 mm deep. The result is a V-groove along the seam, which does three things at once: hides the 0.1 to 0.3 mm assembly gap in shadow, absorbs the elephant foot that the first layers always develop (Prusa's compensation guide budgets about 0.2 mm for it on a 0.4 mm nozzle, elephant foot compensation), and gives the halves a lead-in to self-center. Run the groove along an existing sculpt line or the symmetry plane and it becomes a panel line rather than a repair.
| Seam location | Reads as | When to use |
|---|---|---|
| Concave crease | a joint | whenever one exists near the cut you need |
| Neck (minimum cross-section) | a joint | limbs, necks, lids, anything with a narrowing |
| Parting line on the symmetry plane | manufacturing | smooth convex bodies, front/back splits |
| Chamfered V-groove | a panel line | forced cuts on convex surfaces |
| Bare planar cut on a bulge | a crack | never, unless it is hidden by the base |
Which side gets the peg
A last rule falls out of the crease geometry: when two bodies meet, the crease wraps around the thinner one. So the male feature goes on the thinner part and the socket into the thicker mass: peg on the arm, socket in the torso; peg on the handle, socket in the mug. The socket then sits in material that can hold it, and the peg leaves the thin part's silhouette alone. How to size and key the peg so it never jams is in alignment pins for split prints →.
What the tools do for you today
Bambu Studio's Cut tool splits on a plane or with a dovetail and adds plug, dowel or snap connectors, but the plane is yours to place (Bambu Lab wiki). Meshy's Auto Split says it cuts "where a character's neck meets the torso or where a wing root meets the body", which is Rule 1 in product form, on models generated there (Meshy docs). We're building the same idea into PHORM's constructor from the mesh itself: creases, necks and symmetry computed from the geometry, seams proposed where the rules put them, and every resulting piece held to the same zero-warning check as a single model. It starts from a watertight monolith, which is what a generation gives you today (generate one from a photo →).
Where the seam goes is half the decision. Whether the pieces stay static, snap, or move is the other half: print-in-place or snap-together →, and for anything posable, ball joints that actually snap →.