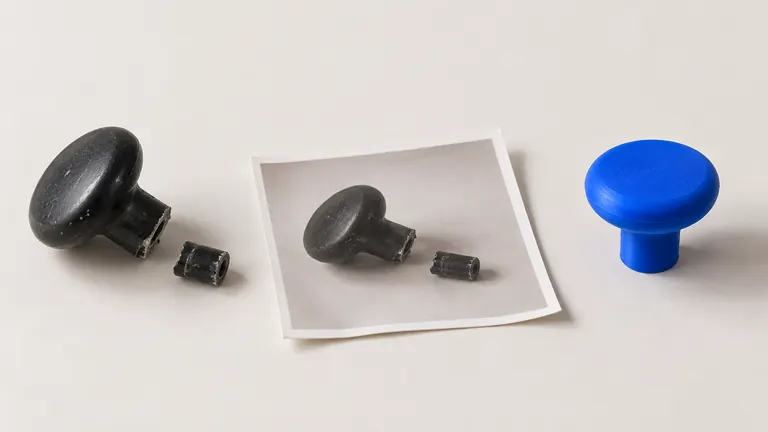
Print the same hook twice: lying flat, then standing up. Hang the same coat on both. The flat one holds; the standing one snaps clean along a layer line, with the surface of the break smooth as a biscuit. Orientation is not a cosmetic choice, it's the difference between one part and two.
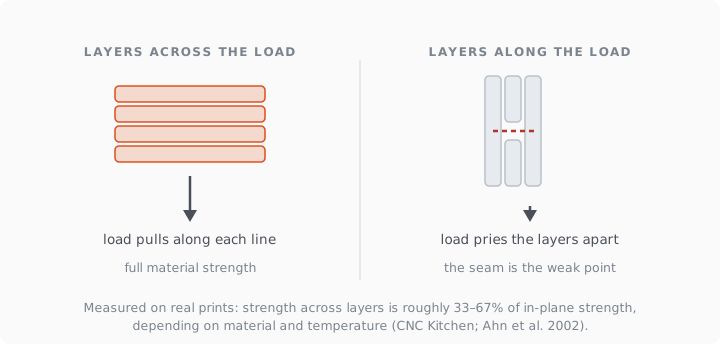
Short version: an FDM part is a stack of welded layers, and the welds are the weak direction. Published measurements put strength across layers anywhere from about a third to two-thirds of in-plane strength, depending on material and settings. Orient every functional part so the expected force runs along the layers, not across them.
How much weaker, exactly?
The spread in published numbers is itself the lesson. Industry design guides state the blunt rule: in-plane (XY) tensile strength is typically 4 to 5 times higher than Z-direction strength on unoptimized prints. Careful testing narrows the gap: CNC Kitchen's measurements found PLA layer adhesion peaking around 40 MPa against roughly 60 MPa in-plane (about two-thirds) when printed hot, and dropping to a third of that when printed cold; PETG topped out near 60% of its in-plane strength. The classic peer-reviewed ABS study (Ahn et al.) and recent journal work on nylon and ULTEM tell the same story: upright specimens fail at roughly 60–65% of the strength of sideways ones, at best.
So the honest engineering assumption for a hobby printer: the Z direction delivers somewhere between 33% and 67% of the material's strength, and you don't control exactly where in that range today's print lands. Design as if it's the low end.
The one rule and three examples
Ask where the force goes, then lay the layers along it.
The hook. Load hangs down, trying to unbend the J. Printed upright, that bending force pries layer from layer at the curve's inside. Printed flat on its side, every layer is a complete J and the force stretches continuous plastic. Flat wins, every time, supports and all.
The bracket. An L-bracket carrying a shelf gets bent at the corner. Print it flat so layers run through both legs continuously. Printed standing, the corner is a stack of short welds placed exactly at maximum stress.
The clip. A cantilever snap flexes along its length. Layers must run along the arm; layers across the arm crack on the third click. Where the fit dimensions of that clip come from is the neighboring problem — clearances that make parts mate →.
The same rule decides whether a model should be printed in place or split into snapping parts: print-in-place or snap-together →.
When orientation fights everything else
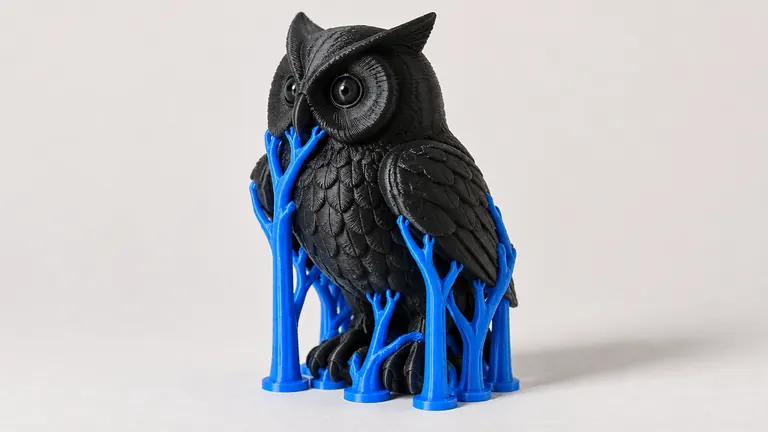
Orientation is a three-way trade against surface quality (the face touching the plate is glassy, stepped curves face up) and support volume. Two tiebreakers serve well. Strength outranks looks on anything functional: sand a face, glue a stand, but a snapped part is garbage. And rotating a part often removes the conflict entirely: a 45° tilt can put layers diagonal to the load (better than across), while halving supports. For organic shapes where supports become the headache, tree supports change the economics →.
Generated models arrive with no orientation opinion at all: the mesh from a photo doesn't know it will become a wall hook. That decision stays with you, and it's worth the ten seconds every time. PHORM's Bambu 3MF export ships oriented with supports pre-set for the model as generated; if you rotate the part for strength, reslice and let the supports regenerate. The full path from photo to printed part → puts this step where it belongs, right before slicing.
Beyond orientation: the settings that move Z-strength
Orientation is the big lever; three settings follow it. Hotter printing welds better (that's the entire CNC Kitchen result above — within the filament's sane range, the top of it). More perimeters put more continuous plastic along the load; walls beat infill → for strength per gram. And layer height has modest effect either way; don't chase strength there.