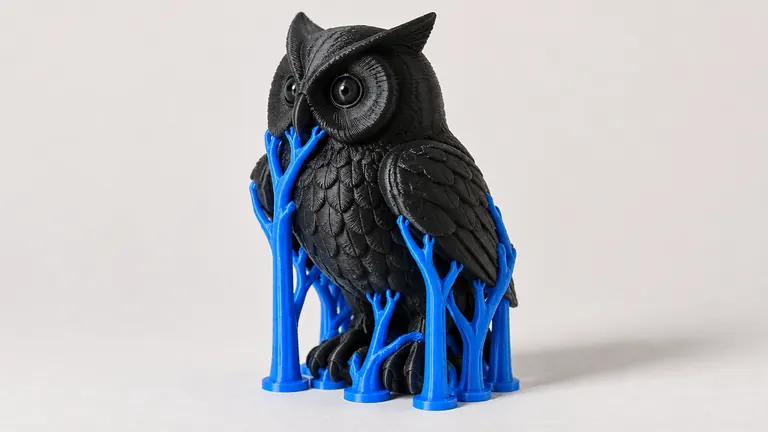
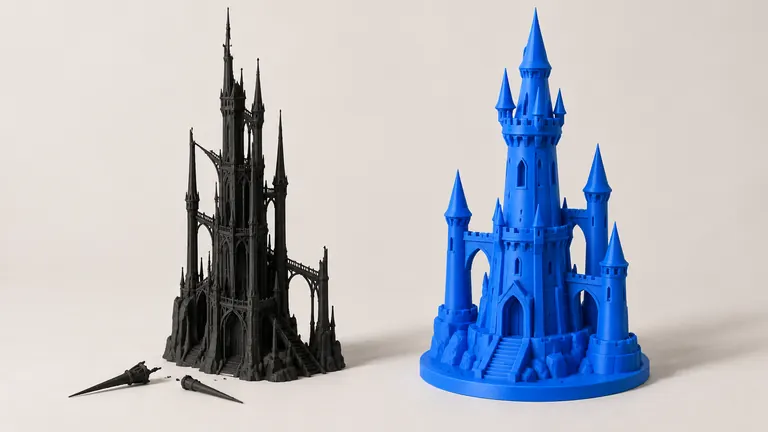
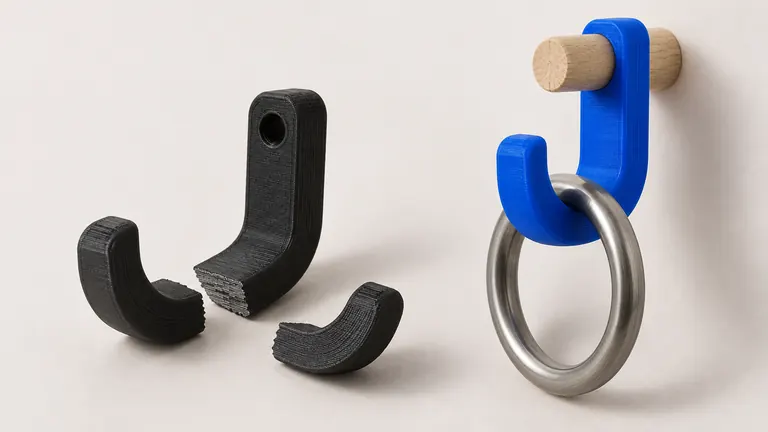
Feed the same object to the same generator twice, once photographed carelessly and once with sixty seconds of setup, and you get two different products: a blob with a family resemblance, and a model you can print. The generator didn't change. The evidence did.
Short version: one clear object, three-quarter view, diffuse light, plain contrasting background, whole object in frame, matte surface. Every rule exists because reconstruction treats everything visible as geometry and invents everything invisible.
Think like the reconstruction
An image-to-3D model reads your photo the way a witness reads a crime scene: what it sees, it rebuilds; what it can't see, it infers from experience. Both halves fail predictably. Shadows and busy backgrounds get read as geometry, because to a pixel-based system they are indistinguishable from geometry. Hidden sides get invented from statistics about similar objects, confidently and sometimes wrongly. Every rule below either gives the witness better evidence or shrinks the territory it must invent.
The six rules
Three-quarter view beats a mugshot. A straight-on photo shows one face and forces the system to invent depth. A 30–45° angle showing front, side and a hint of top gives three faces and real depth cues. If the tool accepts several photos, add a top view and the opposite three-quarter; that's the highest-value second shot.
Diffuse light, no hard shadows. Overcast daylight or a window with a white curtain is the free professional rig. A hard shadow across the object reads as a groove; a shadow cast on the table reads as a skirt of geometry. Avoid on-camera flash for the same reason plus glare.
Plain, contrasting background. A sheet of paper, a wall, a cutting mat in a color the object isn't. Busy backgrounds leak into the mesh as noise; low contrast makes the silhouette a guess, and the silhouette is the single strongest signal the reconstruction has.
The whole object, with margin. Cropped edges become hallucinated geometry: the system completes the amputated handle its own way. Leave air around the object on all sides.
Matte beats shiny. Reflections are windows into the room, and the reconstruction dutifully builds what it sees in them. Chrome and glass defeat photogrammetry and image-to-3D alike. Dust a shiny part with chalk, flour or dry shampoo; shoot glass against bright diffuse backlight and expect to do cleanup.
One object, no clutter. Two objects in frame become one fused mesh or a lottery about which one you meant. Move the coffee cup.
What the photo can't carry (and what to do about it)
No photo carries scale: the model will arrive at an arbitrary size, and one caliper measurement fixes it in the slicer — the exact ritual →. Hidden geometry stays hidden: an undercut, a cavity, the back of a wall-mounted piece; either photograph the second angle or plan to edit. And fine mechanical features (threads, sub-millimeter text) are below what reconstruction resolves; those remain CAD territory, as the three-routes comparison → lays out honestly.
For broken parts there's a trick that feels like cheating and isn't: photograph the intact twin. The surviving hinge of the pair, the mirror-image bracket from the other side, even the product photo from the listing — reconstruction doesn't care that your original is in pieces. The catalog of parts where this pays off is the replacement-parts list →.
What happens after the shutter
However good the photo, raw generated meshes carry reconstruction artifacts — the six standard failures → — which is why a print-first pipeline matters more than photographic perfection. PHORM runs repair and a printability verdict on every generation, and the difference a good photo makes shows up as less invention for the pipeline to fix: upload one photo and watch what it becomes →. On the Free plan, experiments cost nothing, and the fastest way to internalize these rules is to shoot the same object twice, badly and well, and compare the two meshes.